22
Auto-sluk
- Apparatet går i standbytilstand, hvis det ikke har været
i brug i 10 minutter. Lysindikatoren i on/o-knappen
begynder at blinke.
- Tryk på on/o-knappen for at aktivere apparatet igen.
Apparatet begynder nu at varme op igen.
- Apparatet slukker automatisk, hvis det ikke har været
i brug i 10 minutter, efter det er gået i standbytilstand.
Lysindikatoren i on/o-knappen slukkes.
Strygetip
Minimering af folder under tørringen
Start udglatning af folder i begyndelsen af tørringen ved at
sprede dit tøj grundigt ud efter vask og ved at hænge tøjet på
bøjler, så det tørrer naturligt med færre folder.
Fremgangsmåde for skjortestrygning
Begynd med de tidskrævende dele, f.eks. krave, manchetter og
ærmer. Stryg derefter de store dele som bryst og ryg. På denne
måde undgår du, at de større dele krøller, mens du stryger de
tidskrævende dele.
Krave: Når du stryger en krave, skal du starte fra undersiden
og arbejde dig indad (fra den spidse ende). Vend kraven, og
gentag proceduren. Fold kraven ned, og pres kanten for et
mere skarpt resultat.
Knapper: Stryg på modsatte side af knapperne for en mere
eektiv og hurtigere strygning.
Rengøring og vedligeholdelse
Korrekt vedligeholdelse af dit apparat kræver, at du rengør
strygejernet og apparatet regelmæssigt.
1 Tør apparatet af med en fugtig klud. Du kan fjerne
genstridige pletter ved at bruge en lille smule
opvaskemiddel.
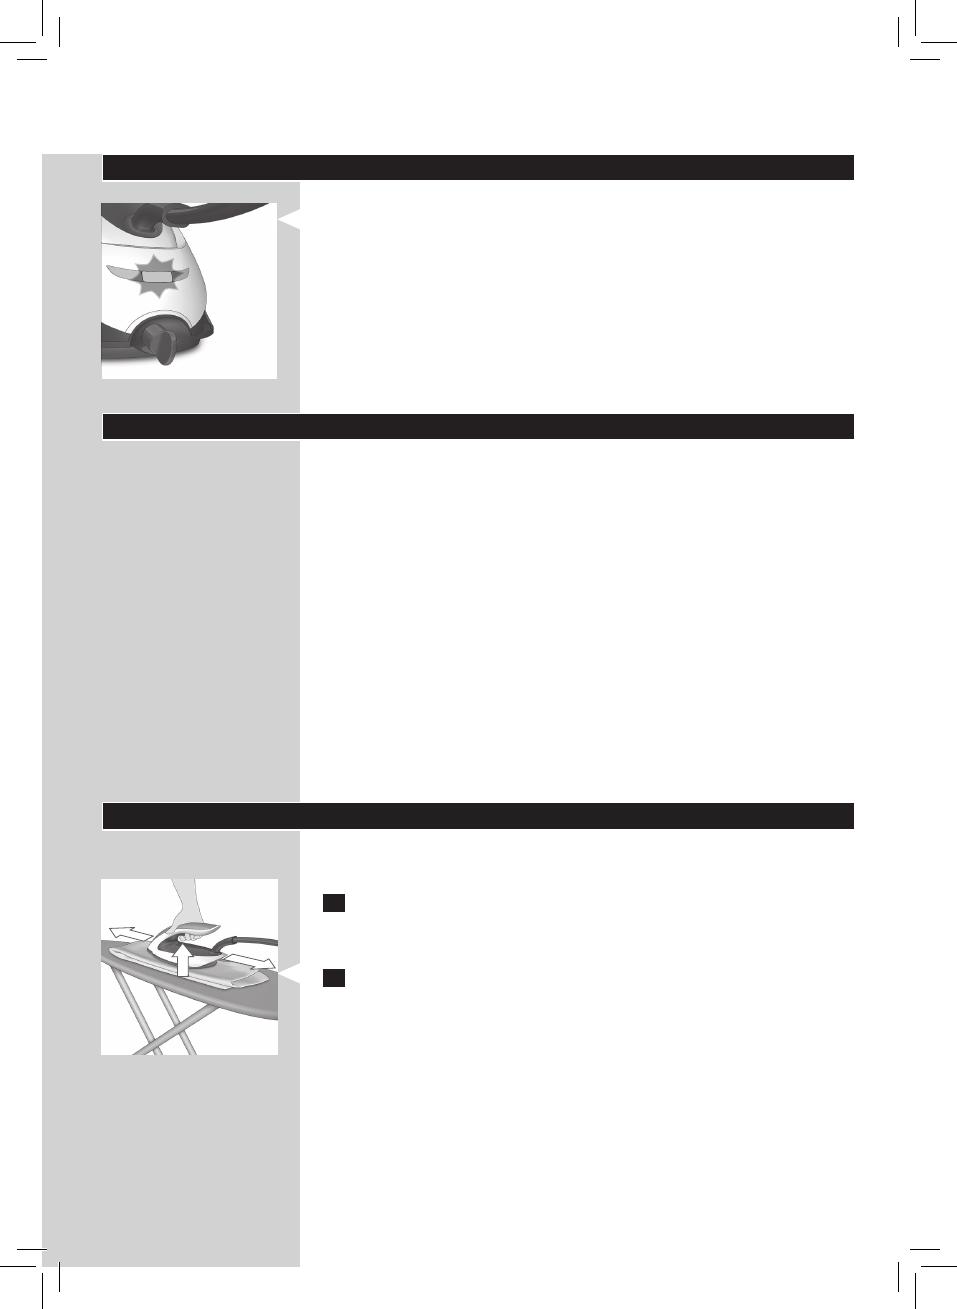
2 Du kan nemt og eektivt fjerne pletter fra strygesålen
ved at tænde for apparatet og lade det varme op. Når
apparatet er varmet op, skal du bevæge strygejernet over
en fugtig klud, mens du trykker på dampudløseren.
Tip: Rengør strygesålen regelmæssigt for at sikre, at den
glider let.


 Euro-Pro EP51A Kasutusjuhend
 Euro-Pro EP36 Kasutusjuhend
 XQ MAX 8DP000670 Surf Sup Inflatable board Kasutusjuhend