EN14
FUNCTION DESCRIPTION TABLE
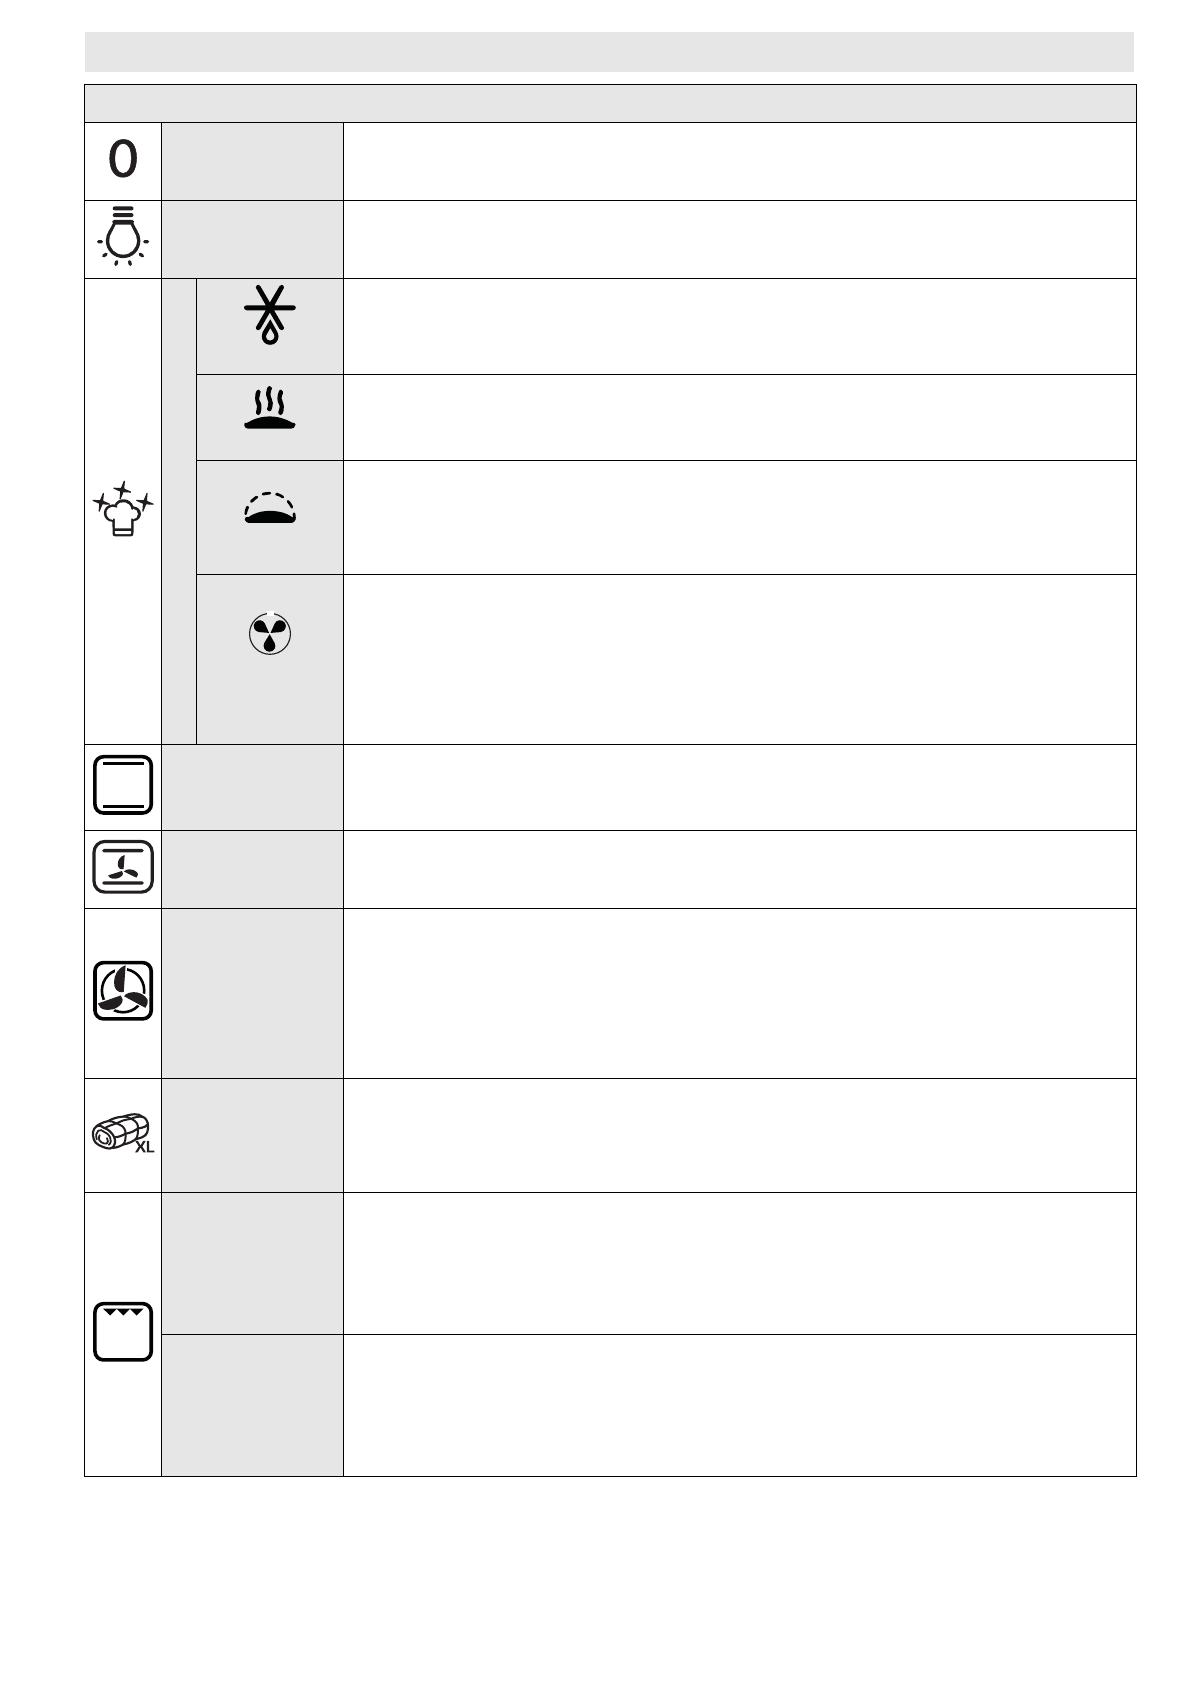
FUNCTION SELECTOR KNOB
OFF To halt cooking and switch off the oven.
LAMP To switch the oven interior light on/off.
SPECIALS
DEFROST
To speed up defrosting of food. Place food on the middle shelf. Leave food in its
packaging in order to prevent it from drying out on the outside.
KEEP WARM
For keeping just-cooked food hot and crisp (e.g: meat, fried or flans). Place food
on the middle shelf. The function will not activate if the temperature in the
oven is above 65°.
RISING
For optimal rising of sweet or savoury dough. To safeguard the quality of
proving, the function will not activate if the temperature in the oven is above
40°C. Place the dough on the 2nd shelf. The oven does not have to be
preheated.
ECO FORCED
AIR
To cook stuffed roasts and meat in pieces on one shelf. This function uses
discontinuous, delicate fan assistance, which prevents excessive drying of
foods. In this ECO function the light remains off during cooking and can be
temporarily switched on again by pressing the confirm button. In order to
maximize energy efficiency, it is advisable not to open the door during cooking.
It is advisable to use 3rd level. The oven does not have to be preheated.
CONVENTIONAL
To cook any kind of dish on one shelf only. Use the 3rd shelf. To cook pizza,
savoury pies and sweets with liquid fillings, use the 1st or 2nd shelf.
The oven does not have to be preheated.
CONVECTION
BAKE
To cook meat and pies with liquid filling (savoury or sweet) on a single shelf.
Use the 3rd shelf. The oven does not have to be preheated.
FORCED AIR
To cook even different types of food (e.g. fish, vegetables, cakes), requiring the
same cooking temperature, on up to three shelves at the same time. This
function allows cooking without odors being transferred from one food to
another. Use the 2nd level to cook on one shelf only, the 1st and 4th to cook on
two shelves, and the 1st, 3rd and 5th to cook on three shelves. The oven does
not have to be preheated.
MAXI COOKING
To cook large joints of meat (above 2.5 kg). Use the 1st or 3rd shelves,
depending on the size of the joint. The oven does not have to be preheated. It
is advisable to turn the meat over during cooking for more even browning. It is
best to baste the meat every now and again to prevent it from drying out.
GRILL
To grill steak, kebabs and sausages; to cook vegetables au gratin and toast
bread. Place food on the 4th or 5th shelf. When grilling meat, use the drip tray
to collect the cooking juices. Position it on the 3rd/4th shelf, adding approx.
half a litre of water. The oven does not have to be preheated. During cooking
the oven door must remain closed.
TURBO GRILL
To roast large joints of meat (legs, roast beef, chickens). Position the food on the
middle shelves. Use the drip tray to collect the cooking juices. Position it on the
1st/2nd shelf, adding approx. half a litre of water. The oven does not have to be
preheated. During cooking the oven door must remain closed. With this
function you can also use the turnspit, if provided.


